Constructing Reconstructing Misfortune (Part 2/3)
The making-of continues in Part two! Part one is here.
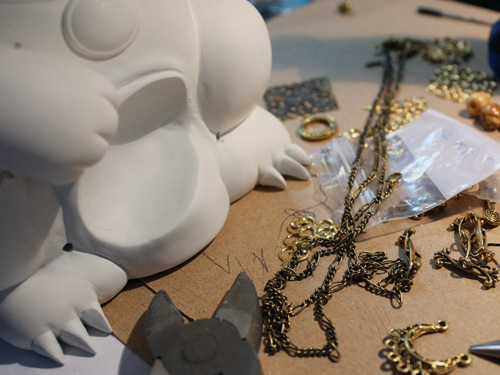
Time for some bling! A few small holes were drilled into the figure around the ankles and wrist to allow chain, wire and accessories to connect securely and seamlessly. At this point I assembled all of my metal pieces for placement and fitting. This was all done prior to painting so that threading chains and fitting roughed out sharp metal shapes wouldn’t ruin the finish.
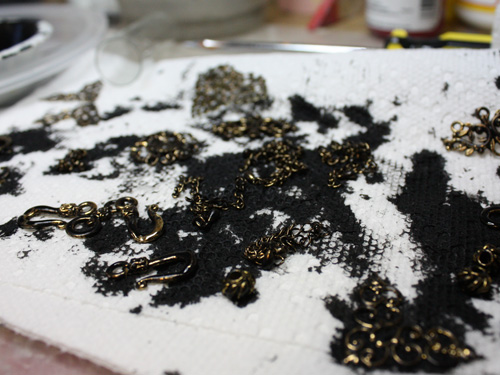
That bling was a little too clean and shiny for my tastes, so into a bath of black paint it went! Most of the black paint was wiped off again, but it was enough to bring out the details while dulling the metal finish.
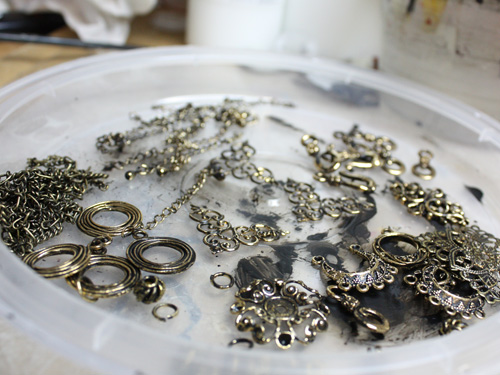
The accessories, links, chains and other decorative elements appropriately blackened and ready for final assembly.
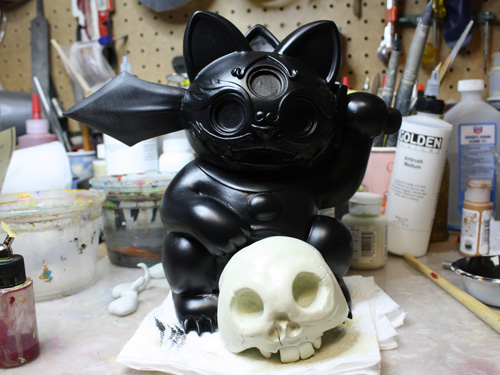
The figure and skull accessory received airbrushed base coats of a semi-glass black and a matte cream color. As always multiple light coats of paint is the best way to go.
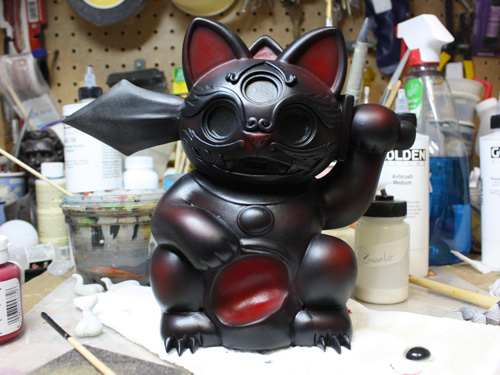
Semi-transparent red highlights were applied to specific areas of the figure to evoke the dark red stone often used for traditional spiritual statues.
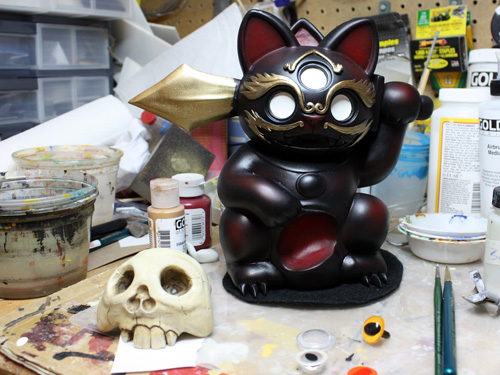
Gold details were painted on and eventually given a dark wash like the accessories to bring out their details and add some age. I also started working on the plastic hemispheres that would become the eyes, luckily they fit almost perfectly within the existing sockets of the original eyes.
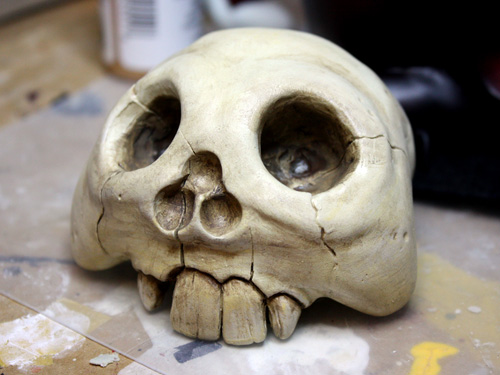
The skull got the same antique wash treatment along with a few bone color highlights.


